Overview
The image requirements for Amazon are in reality truly basic yet Amazon has them spread out over different pages, sometimes contradicting themselves creating a great deal of uncertainty. Amazon even offers style guides for every one of its 35 different product categories all of which have subtle differences making it easy to get overwhelmed.
At Creativeblox Design Studio, we photograph 100’s of Amazon products every year, so we’ve learned a few things about Amazon photography. We will condense the key image requirements for Amazon and help make it easier for you.
This is a five-section article covering:
-
- Links To Amazon’s Articles On Image Requirements
- Technical Requirements For All Images
- Main Listing Image Requirements
- Secondary Listing Image Requirements
- Tips & Tricks Beyond The Requirements
Disclaimer: This is a condensed version of Amazon’s Image Requirements merged from the numerous Amazon sources. Click the links below to read detailed image requirements.
Amazon Image Requirements:
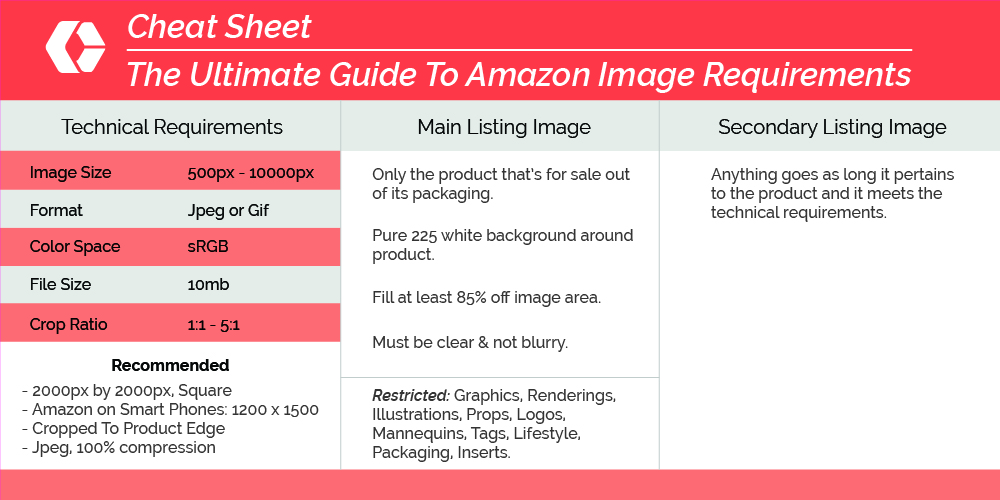
Technical Requirements For All Images
Each image you upload to Amazon must meet these essential requirements or the site will reject it. See below for additional requirements. Note that Main images have a higher number of requirements than Secondary Gallery Images.
-
- Minimum image dimension 500 px on its longest side.
- Maximum image dimension 10,000 px on its longest side.
- Image zoom starts at 1000 px on its longest side & 500 px on the shortest.
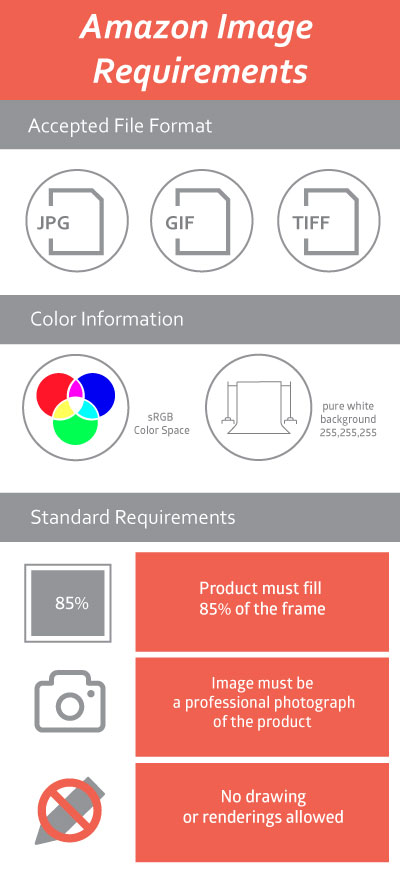
- Amazon accepts TIF (.tif), JPEG (.jpg) or GIF (.gif) file formats. But, JPEG is preferred.
- Color space: sRGB.
- The max file size you can upload is 10mb.
- The best ratio or crop is a 1:1 square image but can be up to 5:1 rectangle.
Best Settings To Meet Amazon’s Image Requirements:
-
- 2000px by 2000px Square image. This is the max zoom. Amazon will automatically reduce images that are any bigger than this.
- Cropped tight to the product to use the most space in the listing. We recommend at least 90% of image area.
- Save it as a Jpeg with a 100% compression, Amazon will compress it again on upload.
- Save it as sRgb color space, if given the option. This is usually the default.
The requirements are broad, yet we would say the above settings are perfect for formatting your product images for Amazon and meet the file requirements.
Amazon Image Requirements:
For Main Listings Photos Only
Main listing images are the first image you find in the search and on the listing. They are by far the most significant images in the listing. A good main listing photo will get more clicks and drive higher sales. Amazon is very strict about this photo, however as long as you follow these requirements, you can still be very creative.
ACCEPTABLE

NOT ACCEPTABLE

Requirements For Main Listing Images
You must photograph the product by itself on a white background.
-
- Must have a pure white background – RGB values of 255, 255, 255.
- The product must fill 85% or more of the image area.
- Images must not be blurry, pixelated, have jagged edges, or be cropped by a frame edge.
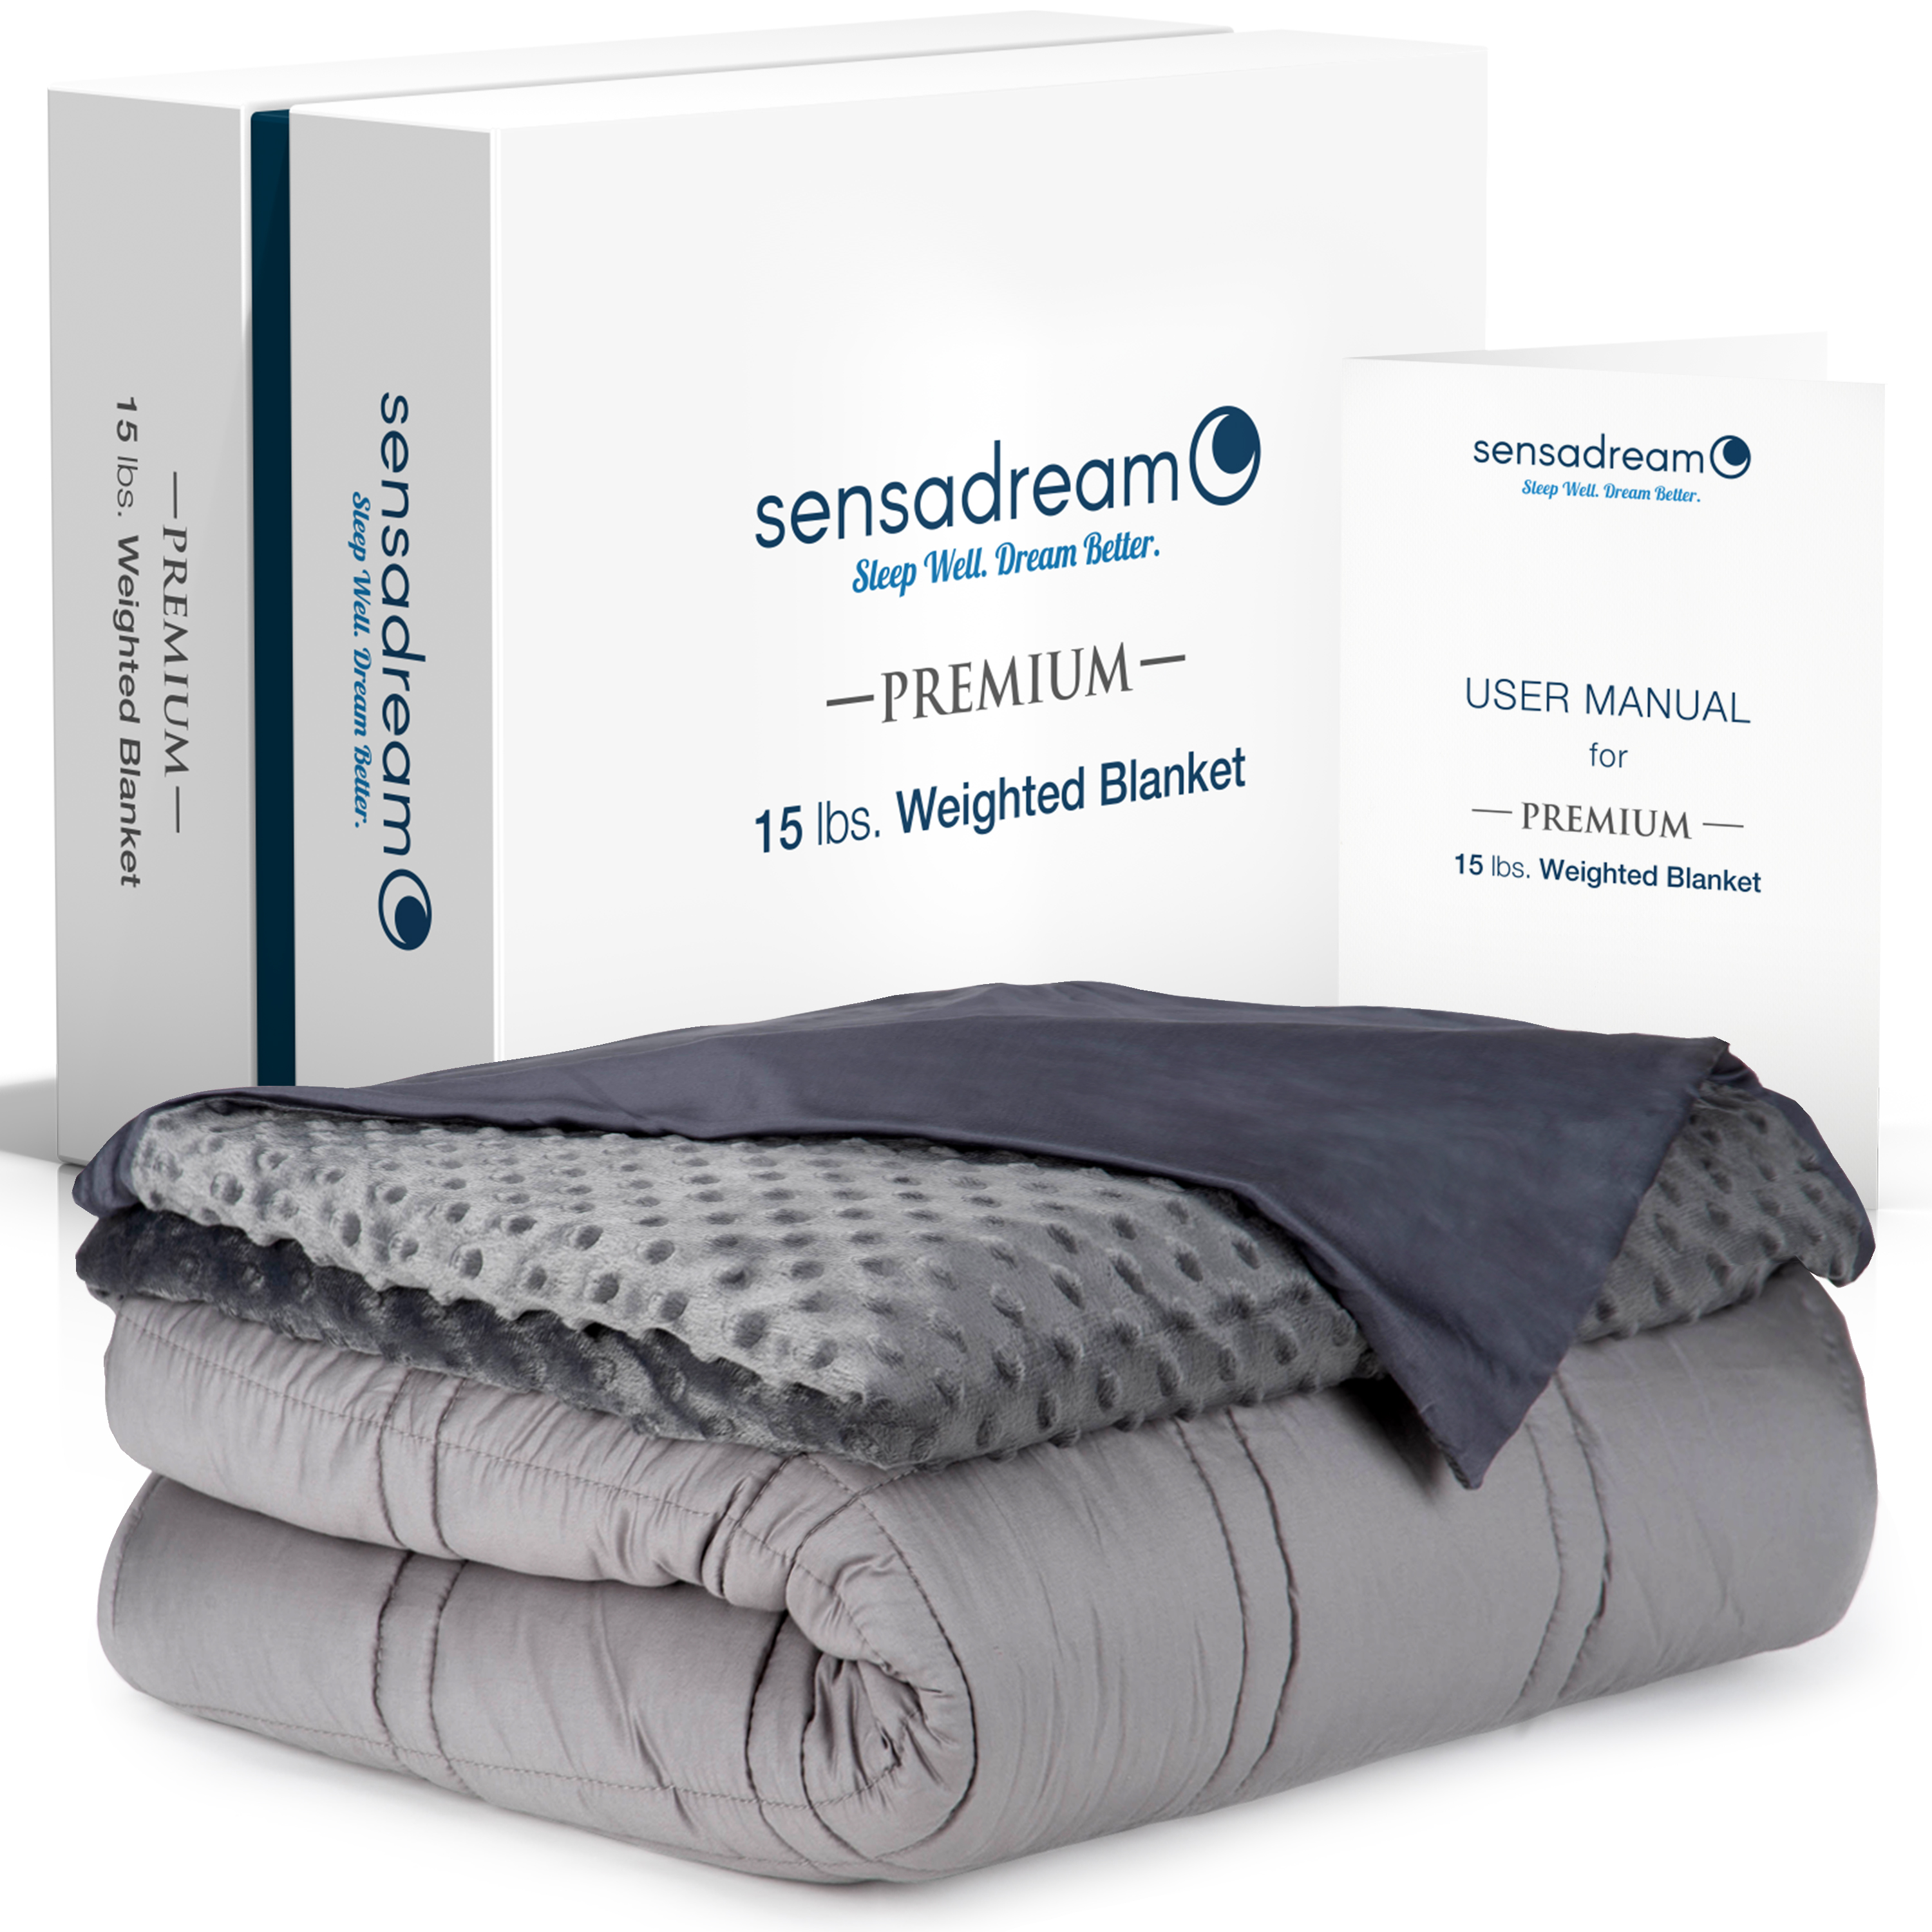
- Images must show only the product that’s for sale out of its packaging and must accurately represent the product that’s being sold.
Restrictions For Main Listing Images
-
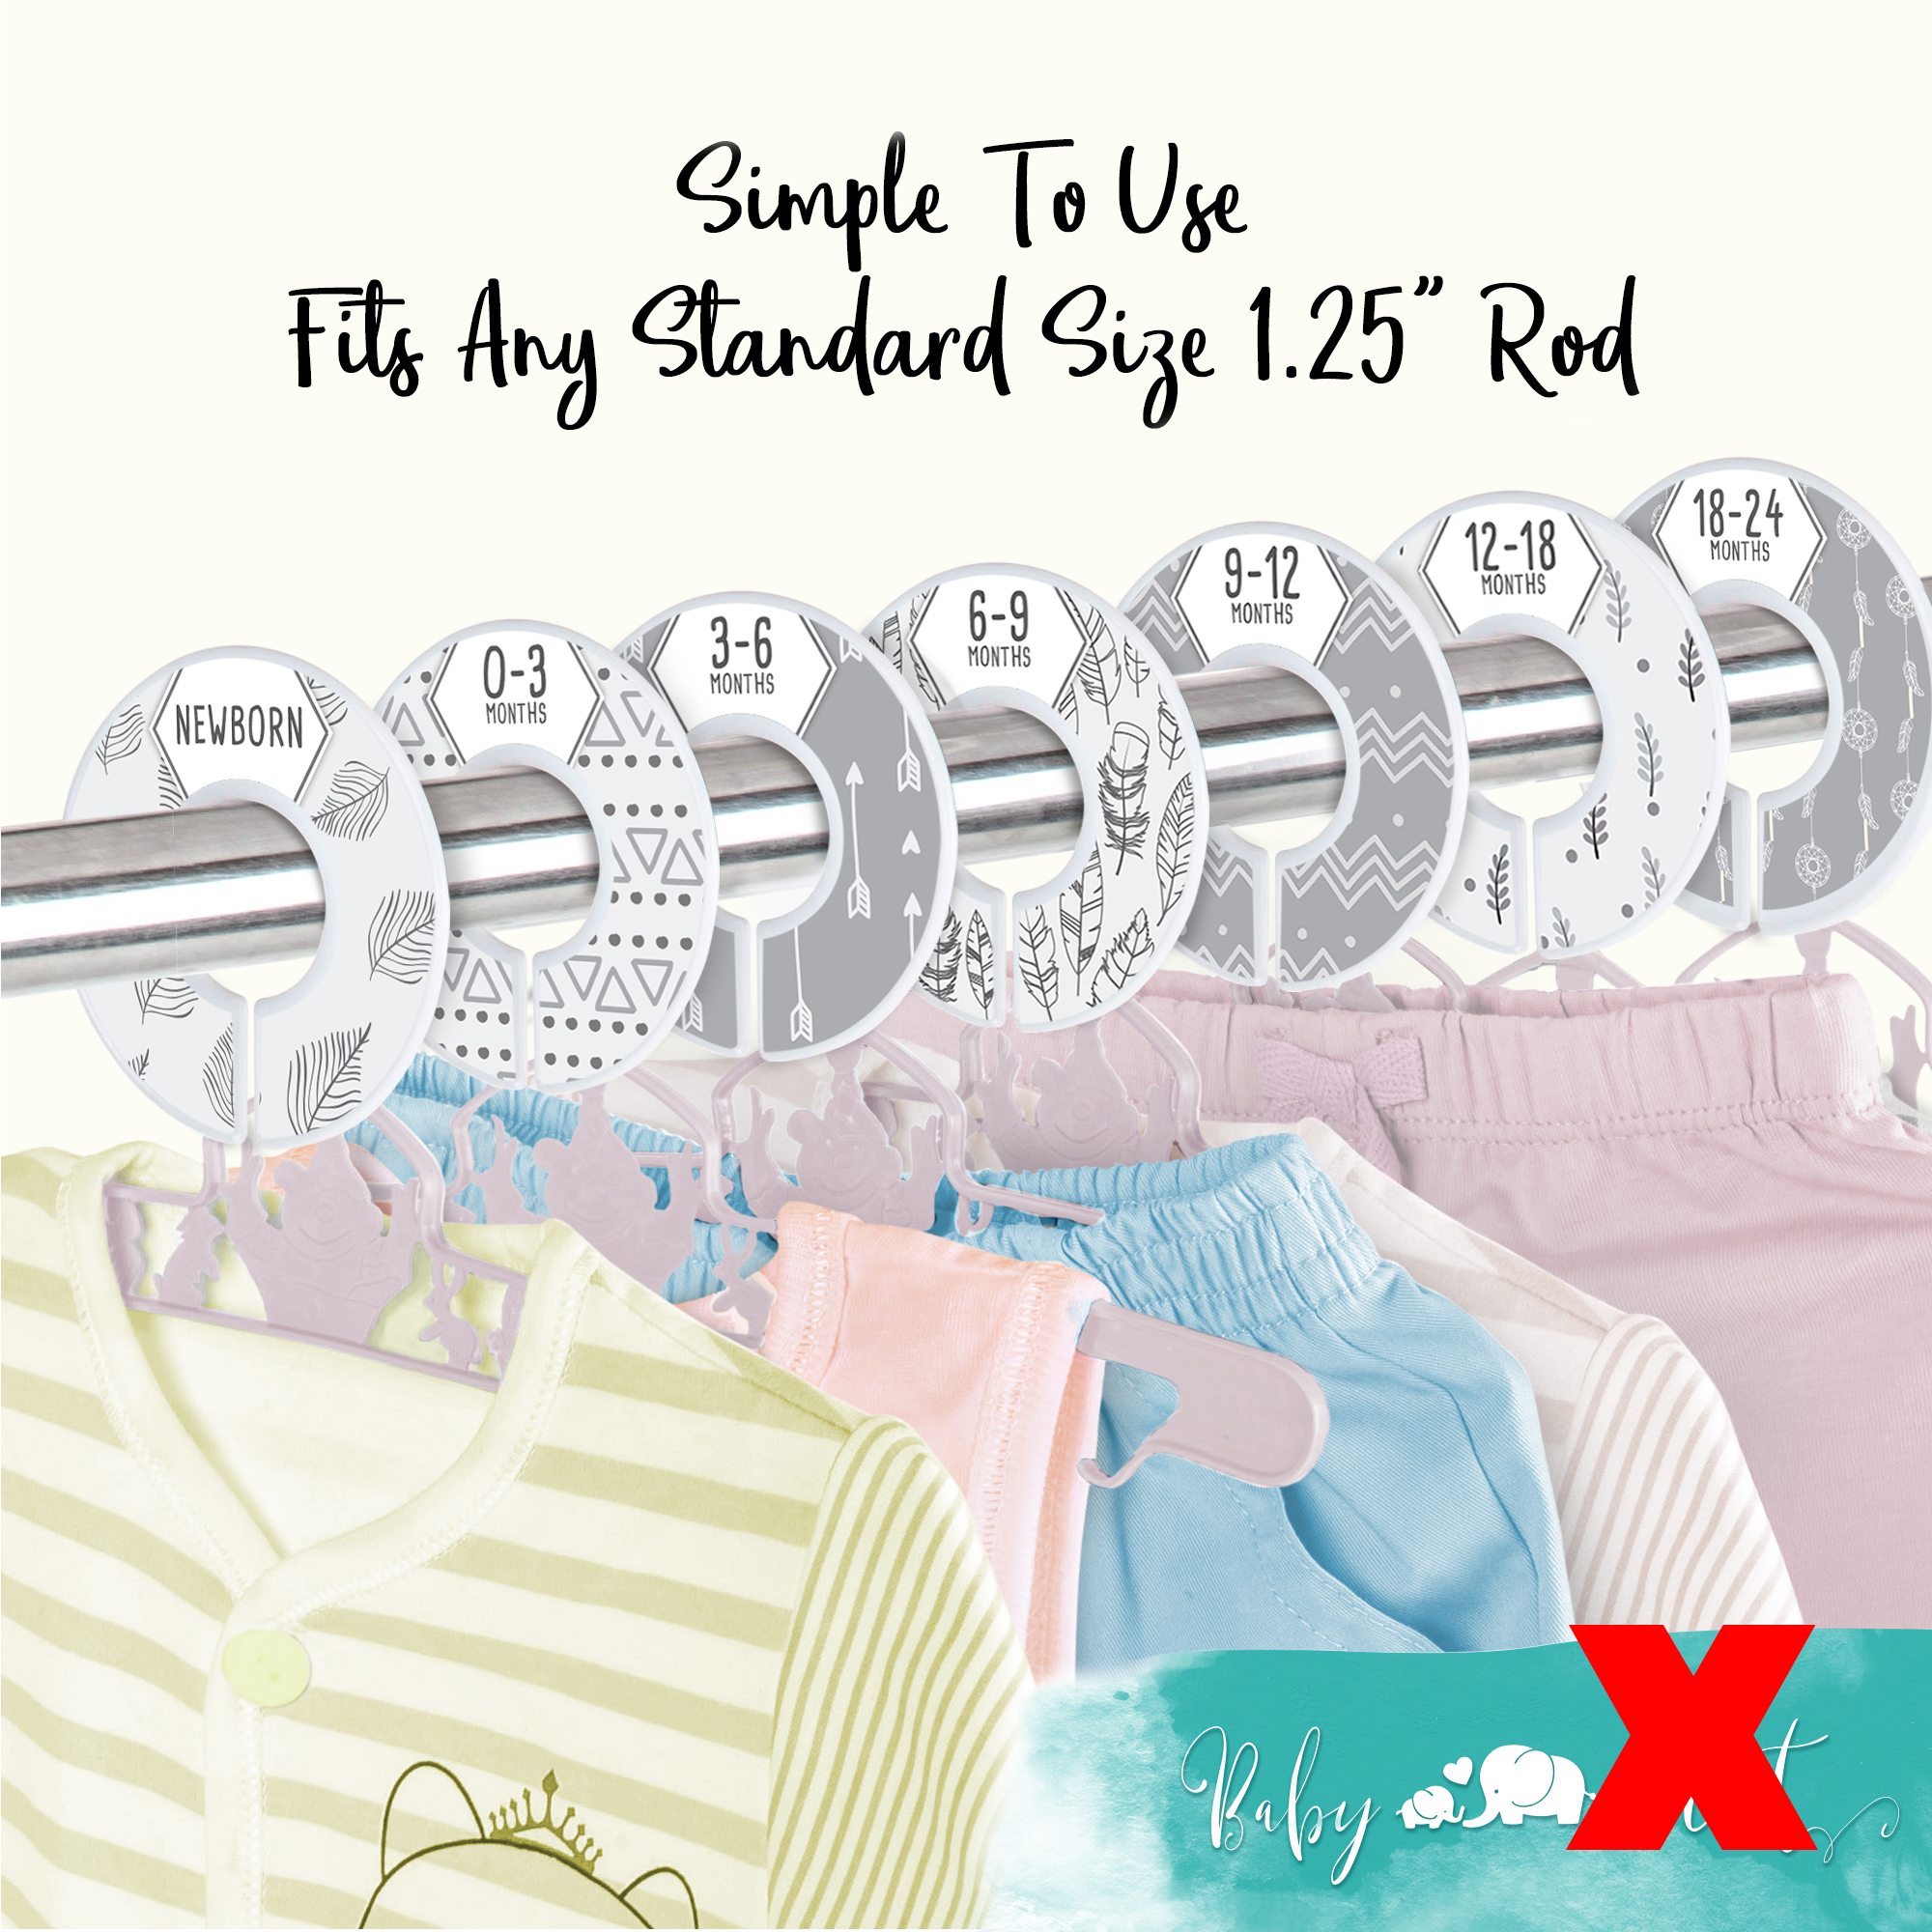
- Must NOT look like a graphic, rendering or illustration of the product.
- Must NOT show excluded accessories or props that may confuse the customer.
- Must NOT show graphics, text or icons that are not part of the product, such as logos/watermarks/inset images.
- Must NOT show multiple views of the same product.
- Must NOT be on a visible mannequin, except for stockings or socks.
- Must NOT have external brand tags, except for stockings or socks.
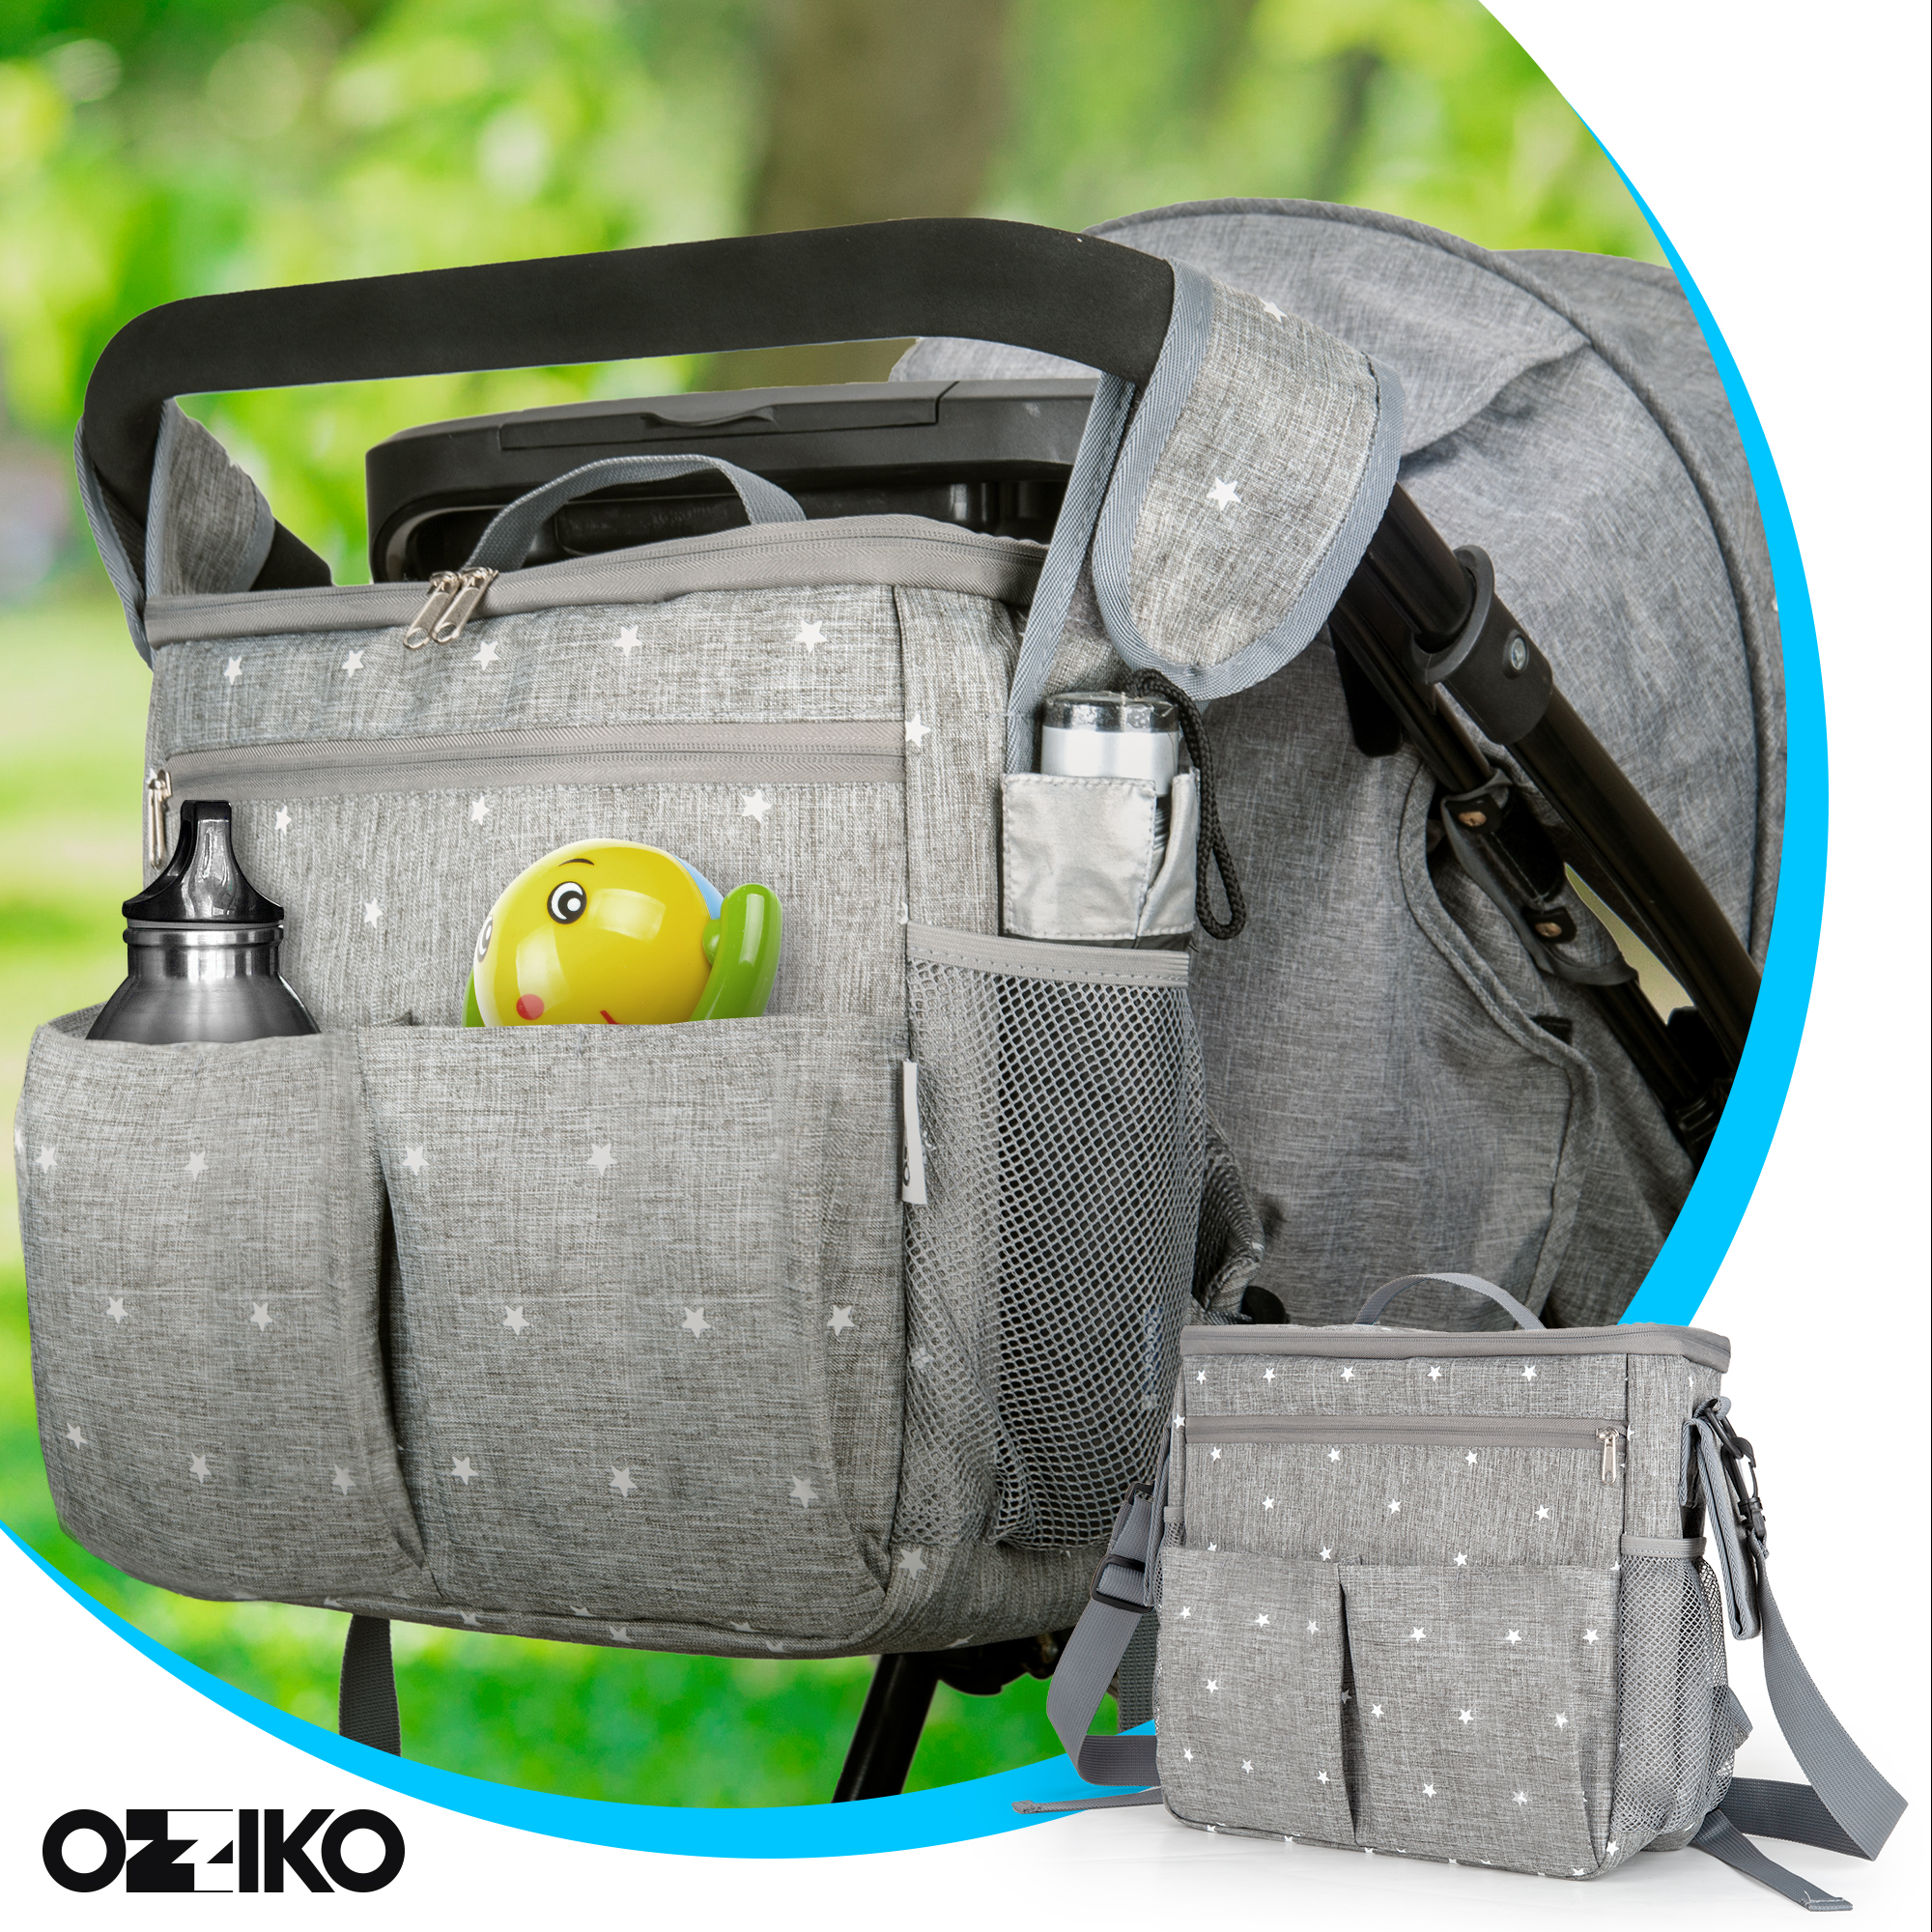
- Must NOT be on colored backgrounds or lifestyle images.
For Clothing Only
-
- Women’s & Men’s Clothing must be photographed on a model or flat.
- Women’s & Men’s Accessories must be photographed flat including scarves, belts, hats, ties & cold weather accessories.
- All Kids & Baby items should be photographed flat and not on a model.
- Images of intimate apparel, lingerie, and swimwear products may not be sexually explicit or obscene (review the main article for details).
Amazon Image Requirements:
Secondary/Additional Images
The requirements for secondary listing images are easy, they must need to complement with the technical requirements for all images, but other than that you can do pretty much whatever you want.
-
- All images must coordinate with the basic Technical Requirements.
Combined Articles Related Amazon’s Image Requirements:
*For most of these articles you must be logged into your seller central account to access it.
Public Articles On Image Requirements
Articles on Seller Central
-
- Image Troubleshooting
- Image Troubleshooting – Product Image Requirement
- Image Troubleshooting – Missing Product Images
- Image Troubleshooting – Rotate a Product Image
- Image guidelines for clothing
Product Specific Style Guides & Notes
Each seller must read through the style guide for their product category at some point. Each guide has approximately 30 – 40 pages of highly specific information. In terms of image requirements, with the exception of clothing, you can come after the shortened details in this article and be just fine. Nevertheless, there are plenty of incredible ideas in the Amazon guides on what type of image works best and specific examples of particular image arrangements.
Clothing is not the same with all other sections and is the only category that is permitted to have models in the main image. To make sure you meet the standards, evaluate the clothing category carefully. It’s not easy to get approval upon the image you intend to post in amazon especially in clothing, so hopefully, you’ve already taken this step.
Basic Amazon Photography Listing Strategy
On seller central you have the chance to provide 9 images for a listing yet only 7 slots will be visible in the listing. The 8th and 9th image is concealed unless the customer clicks into the image gallery.
Thus, we propose you to provide not more than 6 images per listing because the other images may not be viewed or is rarely seen and most likely do not add improvements on sales. Better to save that 7th slot for a video.
The 7th slot is also a special slot for video and maybe 360 spin in the future. This video slot is powerful and should be used whenever possible.
Why not create images for all 9, because creating quality photos cost money. If no one is going to see it then you shouldn’t spend money on it.
TIP: Focus On Creating 6 Quality Consistent Images And 1 Video
-
- 1 Amazing Main Listing Image on White that stands out.
- 3 Ex-plainer Images that show the features & benefits of your products using graphic design and great photos.
- 2 Lifestyle images created using stock photography and photo shopping your product into the scene. Creating it for real can be extremely expensive when done at a professional level.
- 1 product video that rules them all!
Tips & Tricks Beyond The Requirements
Zoom Rollover Effects End At 2000px,
Not 3000px
Amazon makes a special zoom image depending upon the pixel width of the picture that enacts when the customer rolls over the picture.
One regular misinterpretation is that you need a 3000px picture to maximize the zoom effect. I completed a test to find out how the zoom effect took a shot at Amazon. I uploaded 3 images at 1000px, 2000px and 3000px. I didn’t see any difference between the 2000px and the 3000px picture.
This is significant to note because:
-
- You don’t need a 3000px image to get the full zoom effect contrary to popular belief.
- Between 1000px and 2000px you can have different levels of zoom.
- By limiting your max size to 2000px, your images will be a smaller file size which is easier to manage and improves SEO.
Tip: Set your images between 1000px & 2000px for the zoom feature. You do not need an image larger than 2000px to access the full capabilities of your listing.
Seller Central Processes & Compresses Your Images, So Don’t Do It Twice.
 When you upload an image, the seller central software will naturally generate 1:1 square 500px compacted jpeg for the listing images. This is important to know since when creating images to upload, it’s ideal to utilize no compression as double compressing images can lead to ‘compression artifacts”, basically destroying the image.
What’s decent about this, is you don’t have to change over your images to a different format, Amazon’s software will do that for you as long as the file is under 10 megabytes. This is helpful on the grounds that you don’t need to do much image processing.
Tip: In case you’re saving in Photoshop this implies set your Jpeg compression to 12. In other software search for this compression setting and set it to max.
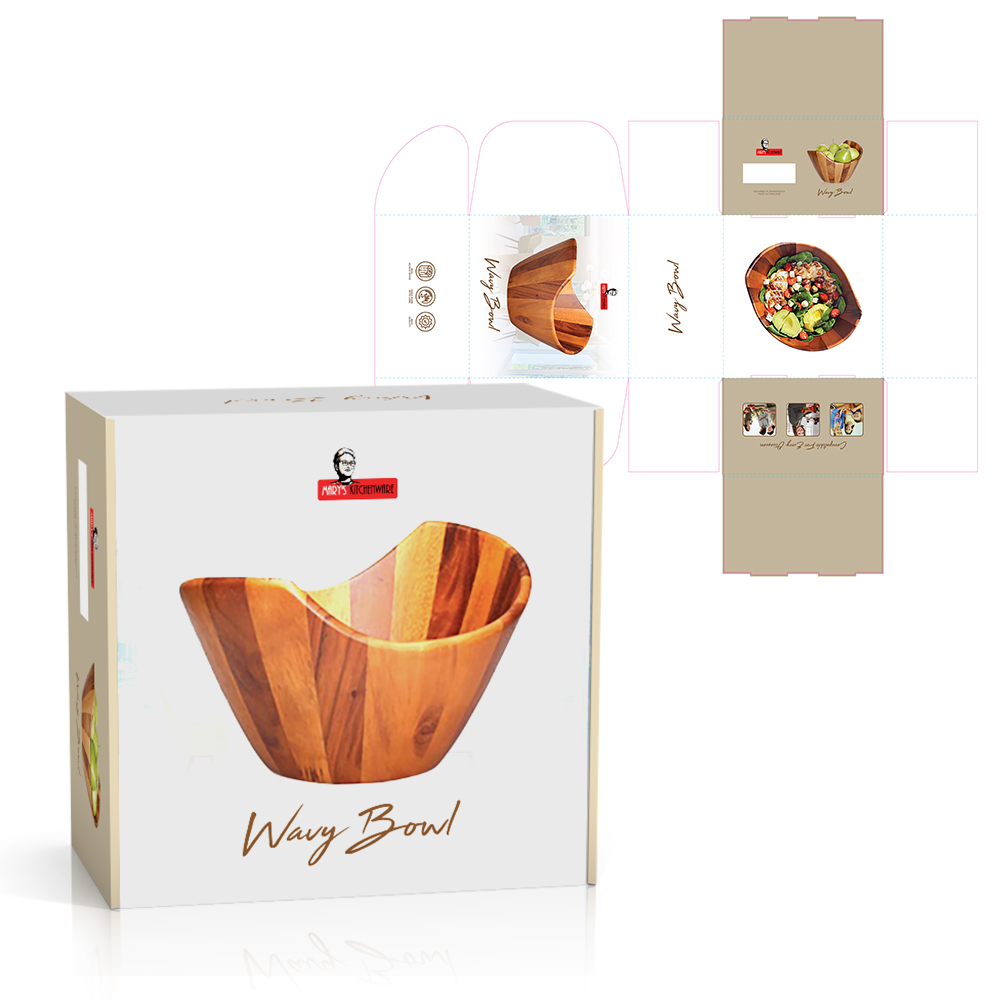
Crop & Plan Your Images To Be Square
 Amazon supports images that have been cropped to many different sizes. Be that as it may, if the image isn’t square, it will include padding around the outside of the image to make it square. The red above is a case of what has been included, typically this would simply be white.
Making arrangements that are long or wide won’t utilize the whole square space, making the images look smaller. This happens a great deal with enormous gatherings or long things like an all-encompassing selfie stick for instance. At the point when uploaded to seller central, white space is added by the system to make the image square.
Tip: Try to design product arrangements that result in a final picture that can be trimmed square.
Try to plan product arrangements that result in a final image that can be cropped square.
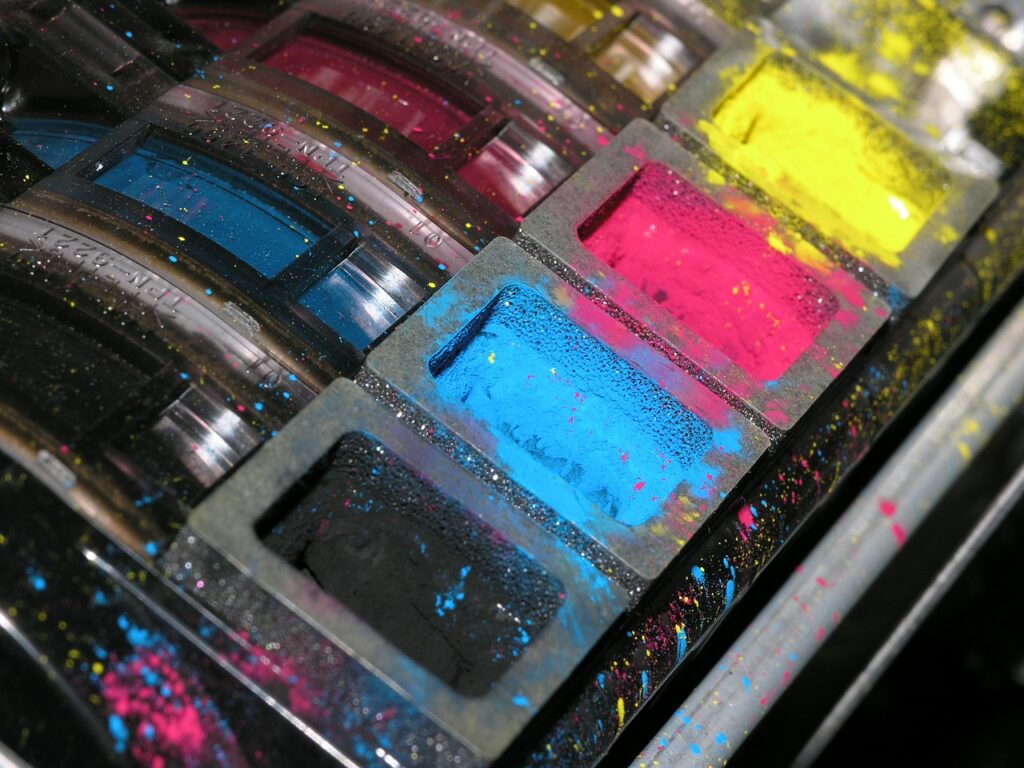
Set Your Images To sRGB Despite Mixed Information
 For all, you professional designers out there, know that some Amazon pages state you can utilize a colorspace of CMYK rather than sRGB. I really tried this and discovered this to bad advice. The default colorspace for the whole web is sRGB and if the image is changed over to whatever else the colors of an image won’t be rendered effectively in spite of what some may state. CMYK settings will render color effectively for a CMYK printing press and Amazon’s software won’t change over the image to coordinate a CMYK color space accurately
Tip: Save your images as SRGB for the web. This is entirely standard, yet in the event that the color is looking inconsistent when you upload it, it might have been set to the wrong color space.
Images Rarely Get Flagged
In 2015, we saw a surge of customers coming to us in light of the fact that their listings were being flagged by Amazon for photos that did not meet the requirements. From that point forward, we have seldom observed or known about a client being flagged. This persuades policing goes in waves. I’m not saying you ought to overlook the approaches, but rather realize that they are not constantly implemented.
I say this because technically Glossy White backgrounds, Amazon’s image guidelines yet numerous customers request it. I haven’t heard of these images being flagged yet.
Tip: Follow the guidelines and break them at your very own hazard.
Let Amazon Generate It’s Own Multi-Pack Logos. Don’t Add It Yourself.
 When you see this logo, normally it was included by Amazon’s system itself, not by the seller. To qualify, in the product listing editor > Vital Information Tab > Update Package Quantity to the quantity in the multi-pack. I’ve perused clashing reports state that it will include the logo naturally and another says that it is included arbitrarily after updating.
This is a trademarked image and shouldn’t be utilized without consent. You can make your very own non-Amazon marked multi-pack logo and use it on your auxiliary listing yet I wouldn’t utilize this one.
Tip: Don’t utilize Amazon’s multi-pack logo, let Amazon do it for you.
Image Naming Not Required But Encouraged
Amazon recommends in some of its official documentation a special naming structure:
-
- Main listing images: Sku#.MAIN.filetype, for example “12345678.Main.jpeg”
- Secondary Images: Sku#.PT01-PT08.filetype, for example “12345678.PT01.jpeg”
- Swatches: Sku#.SWCH.filetype, for example “12345678.SWCH.jpeg”
This is not a requirement, nobody is checking this and your image won’t be flagged in the system if you just name it whatever your company prefers to name it.
Tip: Name your file whatever you want. Following special naming conventions seems like a lot of extra work for no reason.
Amazon Custom Image Size Requirements
 Amazon Custom is a generally new option for products that can be customized. Envision a product such as a dog tag, a custom listing will enable you to include your own custom text and information before handling the request.
Starting in late 2018, the image for the custom page should be formatted explicitly to 400 px square. This is not normal for standard seller central, where you can upload pretty much any image littler than 10mb and it will be resized and converted automatically.
This tip originates from customer’s information since we don’t have access to this part of seller central. So in the event that you observe this to be incorrect please let us know.
Error message if you try to upload something larger
“To ensure proper alignment of your option images over your preview image, both are required to be 400×400 pixels. If you don’t have the ability to create these assets, another option is to highlight choices on a “form” that you’ve uploaded as your preview image.”
Tip: The solution is easy, resize your image to 400px square before you upload it for this listing slot.
Video and Description Images Are Only Available For Listings That Qualify For Enhanced Brand Content
Not all listings are made equally. In the event that you check out, you may discover a few listings have videos or images in the description fields. This is just accessible to listings that meet all requirements for Amazon’s Enhanced Brand Content sellers who are Brand Registered. Recently has this turned out to be accessible to all sellers.
Tip: This is an incredible article on Amazon Enhanced Brand Content in case you’re keen on the beginning.
It Takes 15 Min Or More To Update Your Photos On Seller Central
Uploading images to your listing is frequently the last step in setting up a listing. This is an energizing minute, anyway know that it takes 15 minutes or more of the images to show themselves on the listing. In case you’re not mindful of this postpone it’s anything but difficult to believe that something isn’t right.
Tip: Upload the photographs and get some espresso and return. It requires investment for the photographs to upload.
300 DPI Is An Incorrect Term
In a portion of Amazon’s style guides, they refer to a 300 DPI image as a requirement however this is an incorrect term and should be ignored. A pixel is a unit of estimation for computer screens and devices. A typical misconception is that DPI (dots per inch) identifies with image size online. DPI just identifies with physically printed pictures and is utilized to convert a pixel length to physical inches.
So in the event that my computer image is 3000px by 3000px on my computer screen, that is its size. There is no dpi connection to a computer only image. On the off chance that I needed to convert to physical inches and print it on an inkjet printer, at that point I would separate 3000px/300dpi to get a 10 inch by 10-inch physical print. Additionally, various printers print at various DPI goals, so the 300dpi reference isn’t even precise for all printers.
This subject can get extremely confusing in the event that you begin to discuss various screens, resolutions, and placeholders. Attempt to simply concentrate on this; with images on the web, you only need to look at the pixel dimensions, the height and width in pixels.
Tip: Ignore the 300 dpi reference, it doesn’t mean anything except if you’re printing the photo.
The Main Listing Image Is Super Important
The Main Listing Image is by far the most significant image in a listing. Next to price, it is the most significant component in converting sales and driving traffic to your listing. Bad photographs will make your brand look conniving and low quality. Experts, for the most part, concur that an expert product photograph versus a DIY iPhone photograph for the main listing image will see a 20% increase in sales, yet we have known about a lot higher returns from our clients.
So in case, you will put resources into anything, the main listing image is it. You can hold back on the secondary images and pull off it. There are lots of professional options and it will be worth the investment.
Tip: If whatever else, make your main listing image look stunning!
Hire A Professional Photographer
I realize what you’re supposing, “here comes the attempt to sell something” yet let me clarify why contracting an expert has its advantages..
We don’t need to tell you that Photographs are one of the most important parts of your listing. That’s the reason you’re here looking for information. A professional photo can make your product look great, increase click through rates and sell more products. Terrible photographs can make your product look low quality. So why go the DIY course if it’s so important?
On the off chance that you’re choosing to do it without anyone else’s help versus enlisting an expert, at that point pose yourself this question, “Is it worth it?” Studies and experts concur that Professional photographs sell more products on Amazon than DIY.
Crunch the numbers. In the event that it costs $200-$400 to get professional photographs and you see a 20% increase in sales over the lifetime of the listing, does that justify the expense? Professional photographs are an investment that will keep on returning over the lifetime of your listing.
Do you have all the gear, ability and time to photo it yourself appropriately? Would it cost more to get all the stuff at that point to hire an expert?
Try it out for free. Change out your main listing image with a professional image and measure the ROI (Return On Investment). In the event that you see an uptick in sales and clicks contrasted with previously, at that point figure the amount you would see over the lifetime of the listing on the off chance that you updated your photographs to professional photographs.
Since 1981, Creativeblox has helped hundreds of clients with their creative services and projects. Not just pretty pictures, but designs that communicate effectively and meet goals. So if you’re hoping to upgrade your Amazon product photography that suits to the requirements, you can contact us or send us an email at orders@creativeblox.com.